Setting up your professional studio at home
Setting up an amazing studio has been on my list for many years. In this blog post I’ll share my tips on how best to set yours up for success.
Lighting:
I always wanted the right light which comes in from the top like sky lights. This isn’t always an option for people. So I have invested in daylight lamps. Well, bulbs really. The type of bulbs you use are important. There are two types. There are warm daylight and cool daylight bulbs. I made the mistake of buying the warm kind and the light just wasn’t right. So I tried the cool type and they seem to have a better light for painting with. I bought a few uplighter lamps from Argos . These have directional shades on them and are very inexpensive.
The natural light can bounce off the ceiling and create an even natural light which will not change the colour of your pallet or painting. I found this crucial when I was in my last studio. It had large sliding doors which faced out into the garden. It was fine up until lunchtime and then the sun would spill in directly making it impossible to see my computer screen and impossible to paint properly. I ended up buying blackout blinds and using daylight bulbs. It works brilliantly. You can make any room work once you have the correct lighting. It also means you can work when it gets dark which is great for the winter months.

This is my setup at the moment. On the kitchen table but it works as a studio for now!
Computer Screens:
There are so many tools that an artist can use. Like I just mentioned, I use a computer screen to work from. I think lots of artists do this now. I used to paint from photos, then my phone and finally from the computer.
I’ve just moved house, yay! And I finally have the opportunity to start all over again. Getting a brilliant computer screen to work from was definitely high up on my list, next to skylights in my studio. So I started to research the best screens to work from if you are an artist. Turns out this is a huge area! Artists and photographers need good clarity and colour with less glare. The one I found is called Benq and the quality is incredible. This is more for the serious or professional, but I wanted to mention it because it's fantastic! The screen can also move up and down and flip on its side. It’s also possible to buy a hood to stop glare. I haven’t gone that far yet. It's pretty good as is to be honest.
Easel:
Next is the artist's easel. I remember when I was staring out I used an old workbench. You know the ones that are for cutting wood on. When I could afford an easel I never looked back. I bought mine from Evans Art in Dublin. They have a great range for every pocket and I love mine. I got a mid-range one but there are lots of different types to choose from. What you are painting on makes such a difference. I love the way it can move around the room and it's so easy to adjust. I couldn’t paint without one now.
Canvases:
The right setup can help create a much better painting and having the right tools can make all the difference. When it comes to canvases I like to use a fine weave canvas. This comes in both a thin and box finish. Both of these can be framed but you get away with no frame when using a box canvas. I did this for years before I became more serious about painting. They are a little more expensive than the thin ones but you don’t have the added cost of framing.
I find the fine weave canvas better for more detailed work. The heavy weave canvases are good for more textured paint work like pallet knives. I get all of my supplies from Evans Art but any good art shop will supply beautiful canvases to work on. If you are in Dublin I would recommend buying online and getting everything delivered. It’s so fast too and the service is fab, you also get an extra discount if you buy online which always helps.

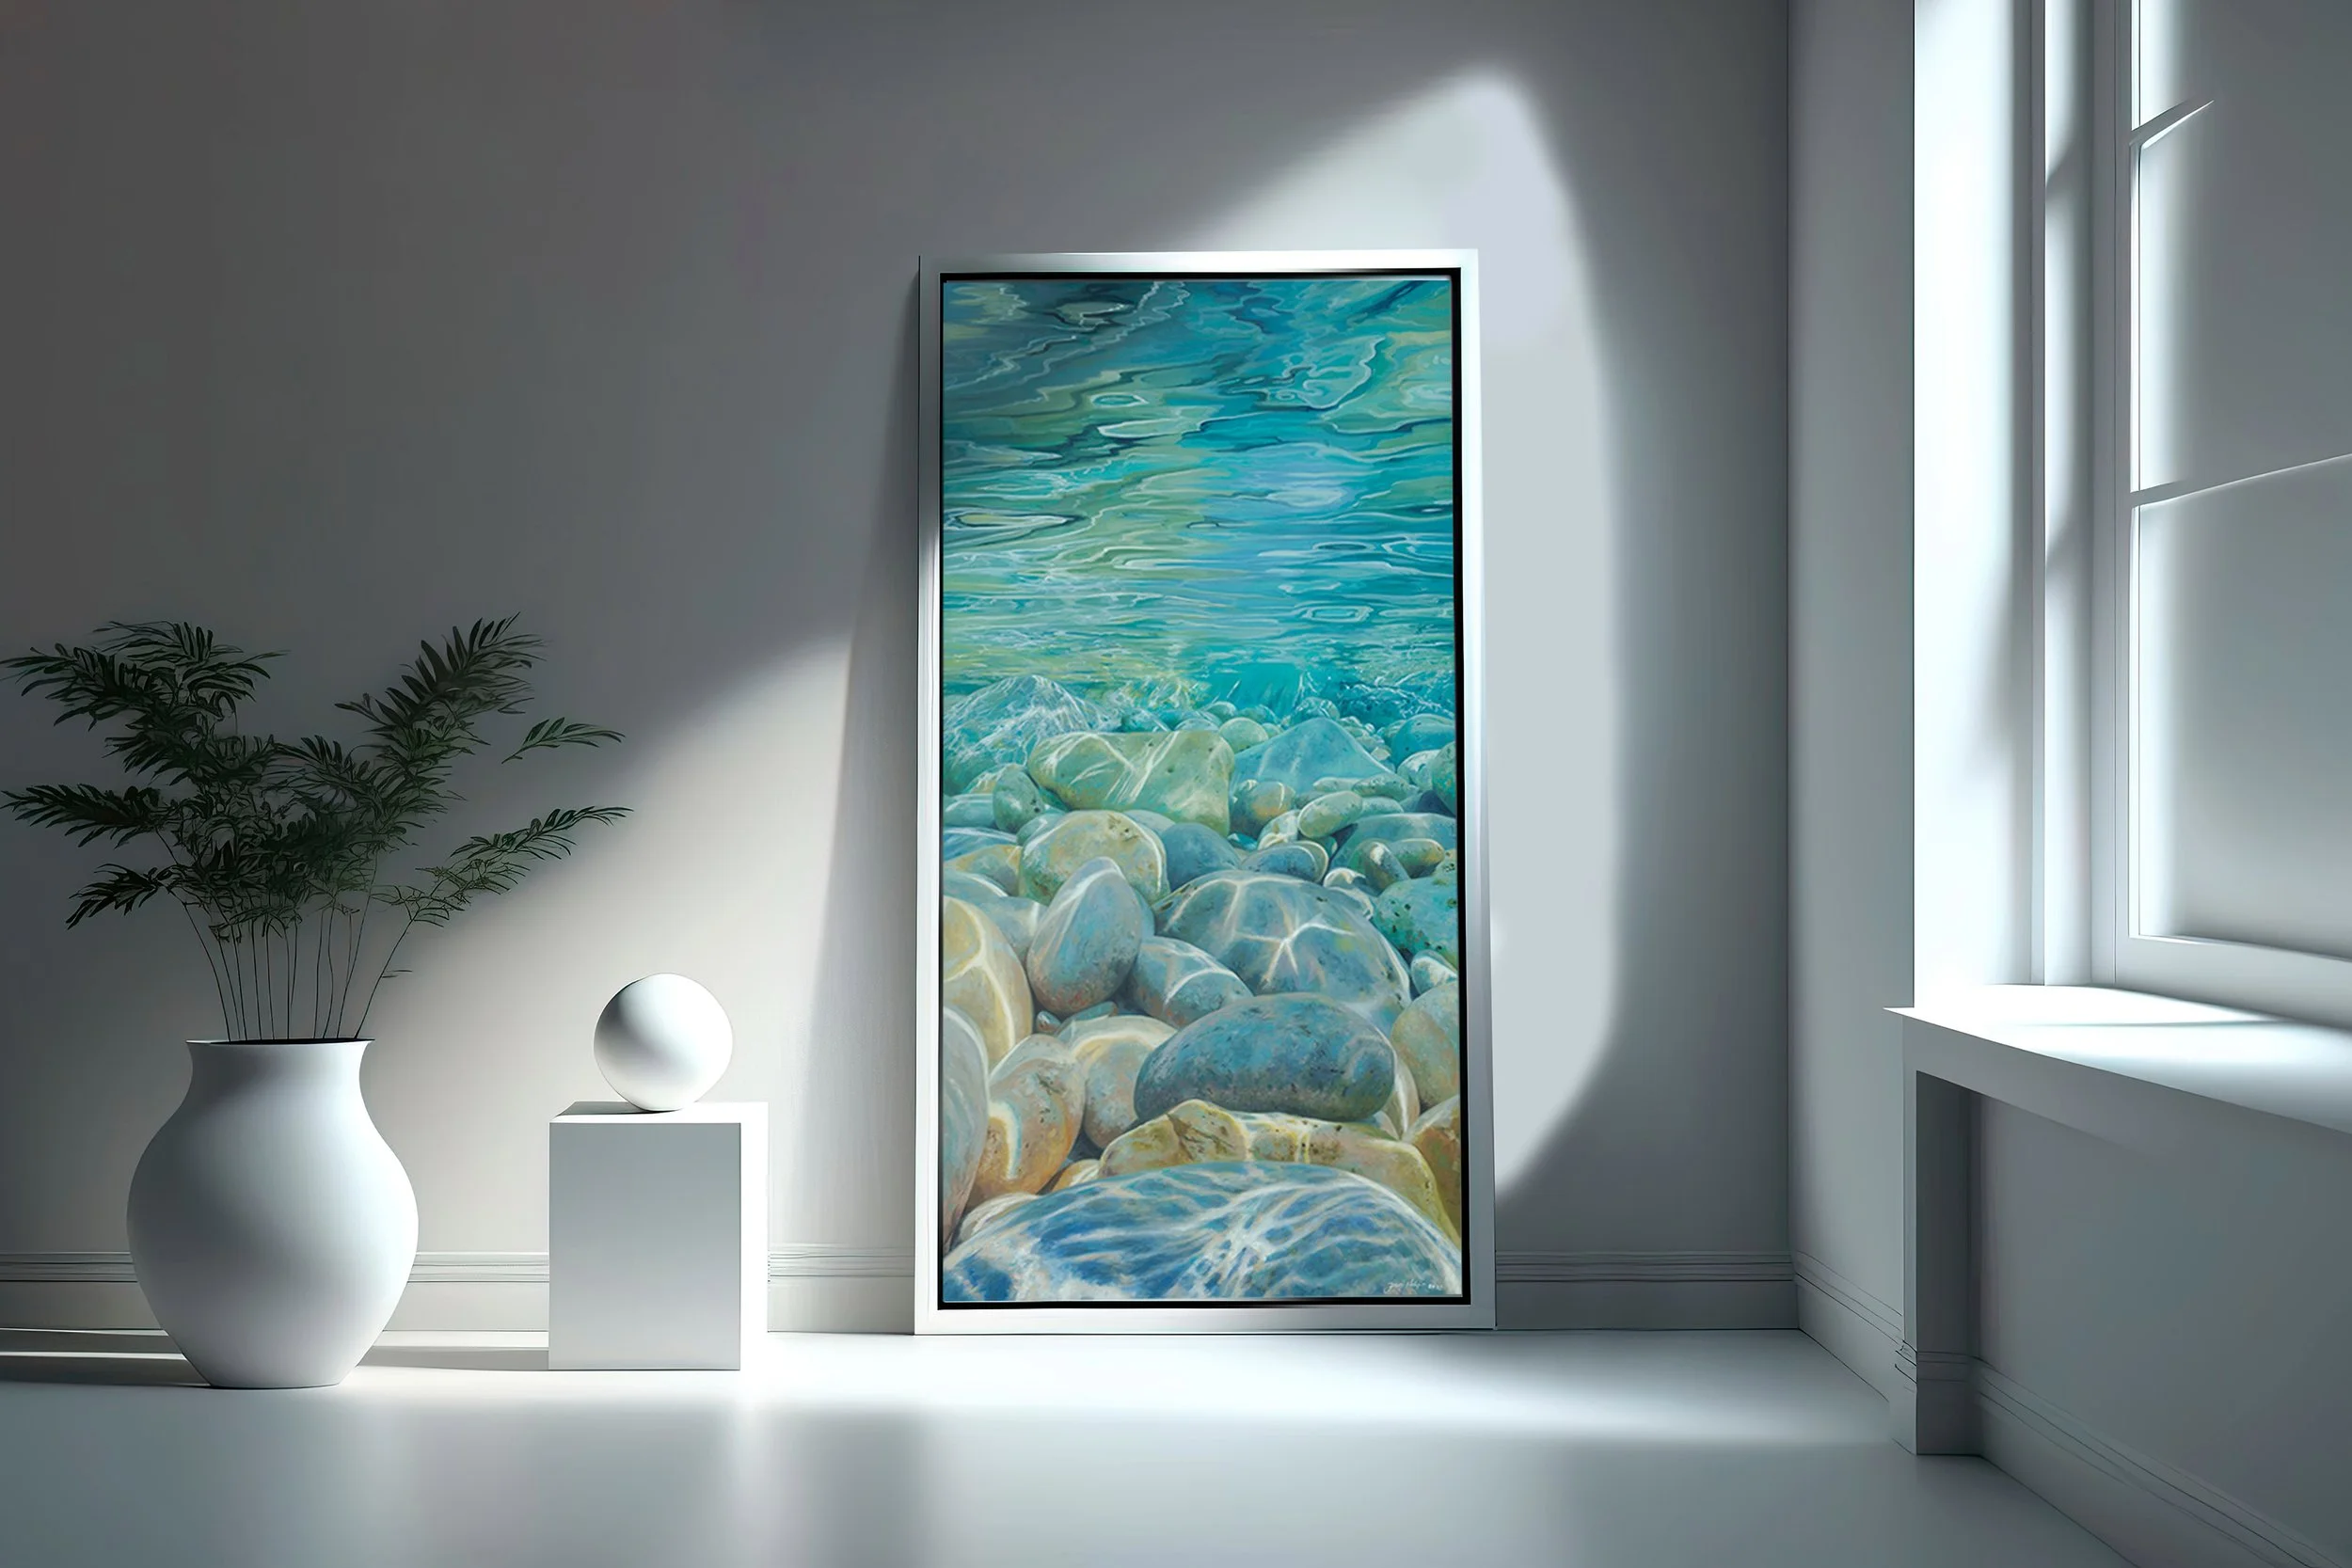
This is a fine weave thin edge canvas. It's good for painting detail.
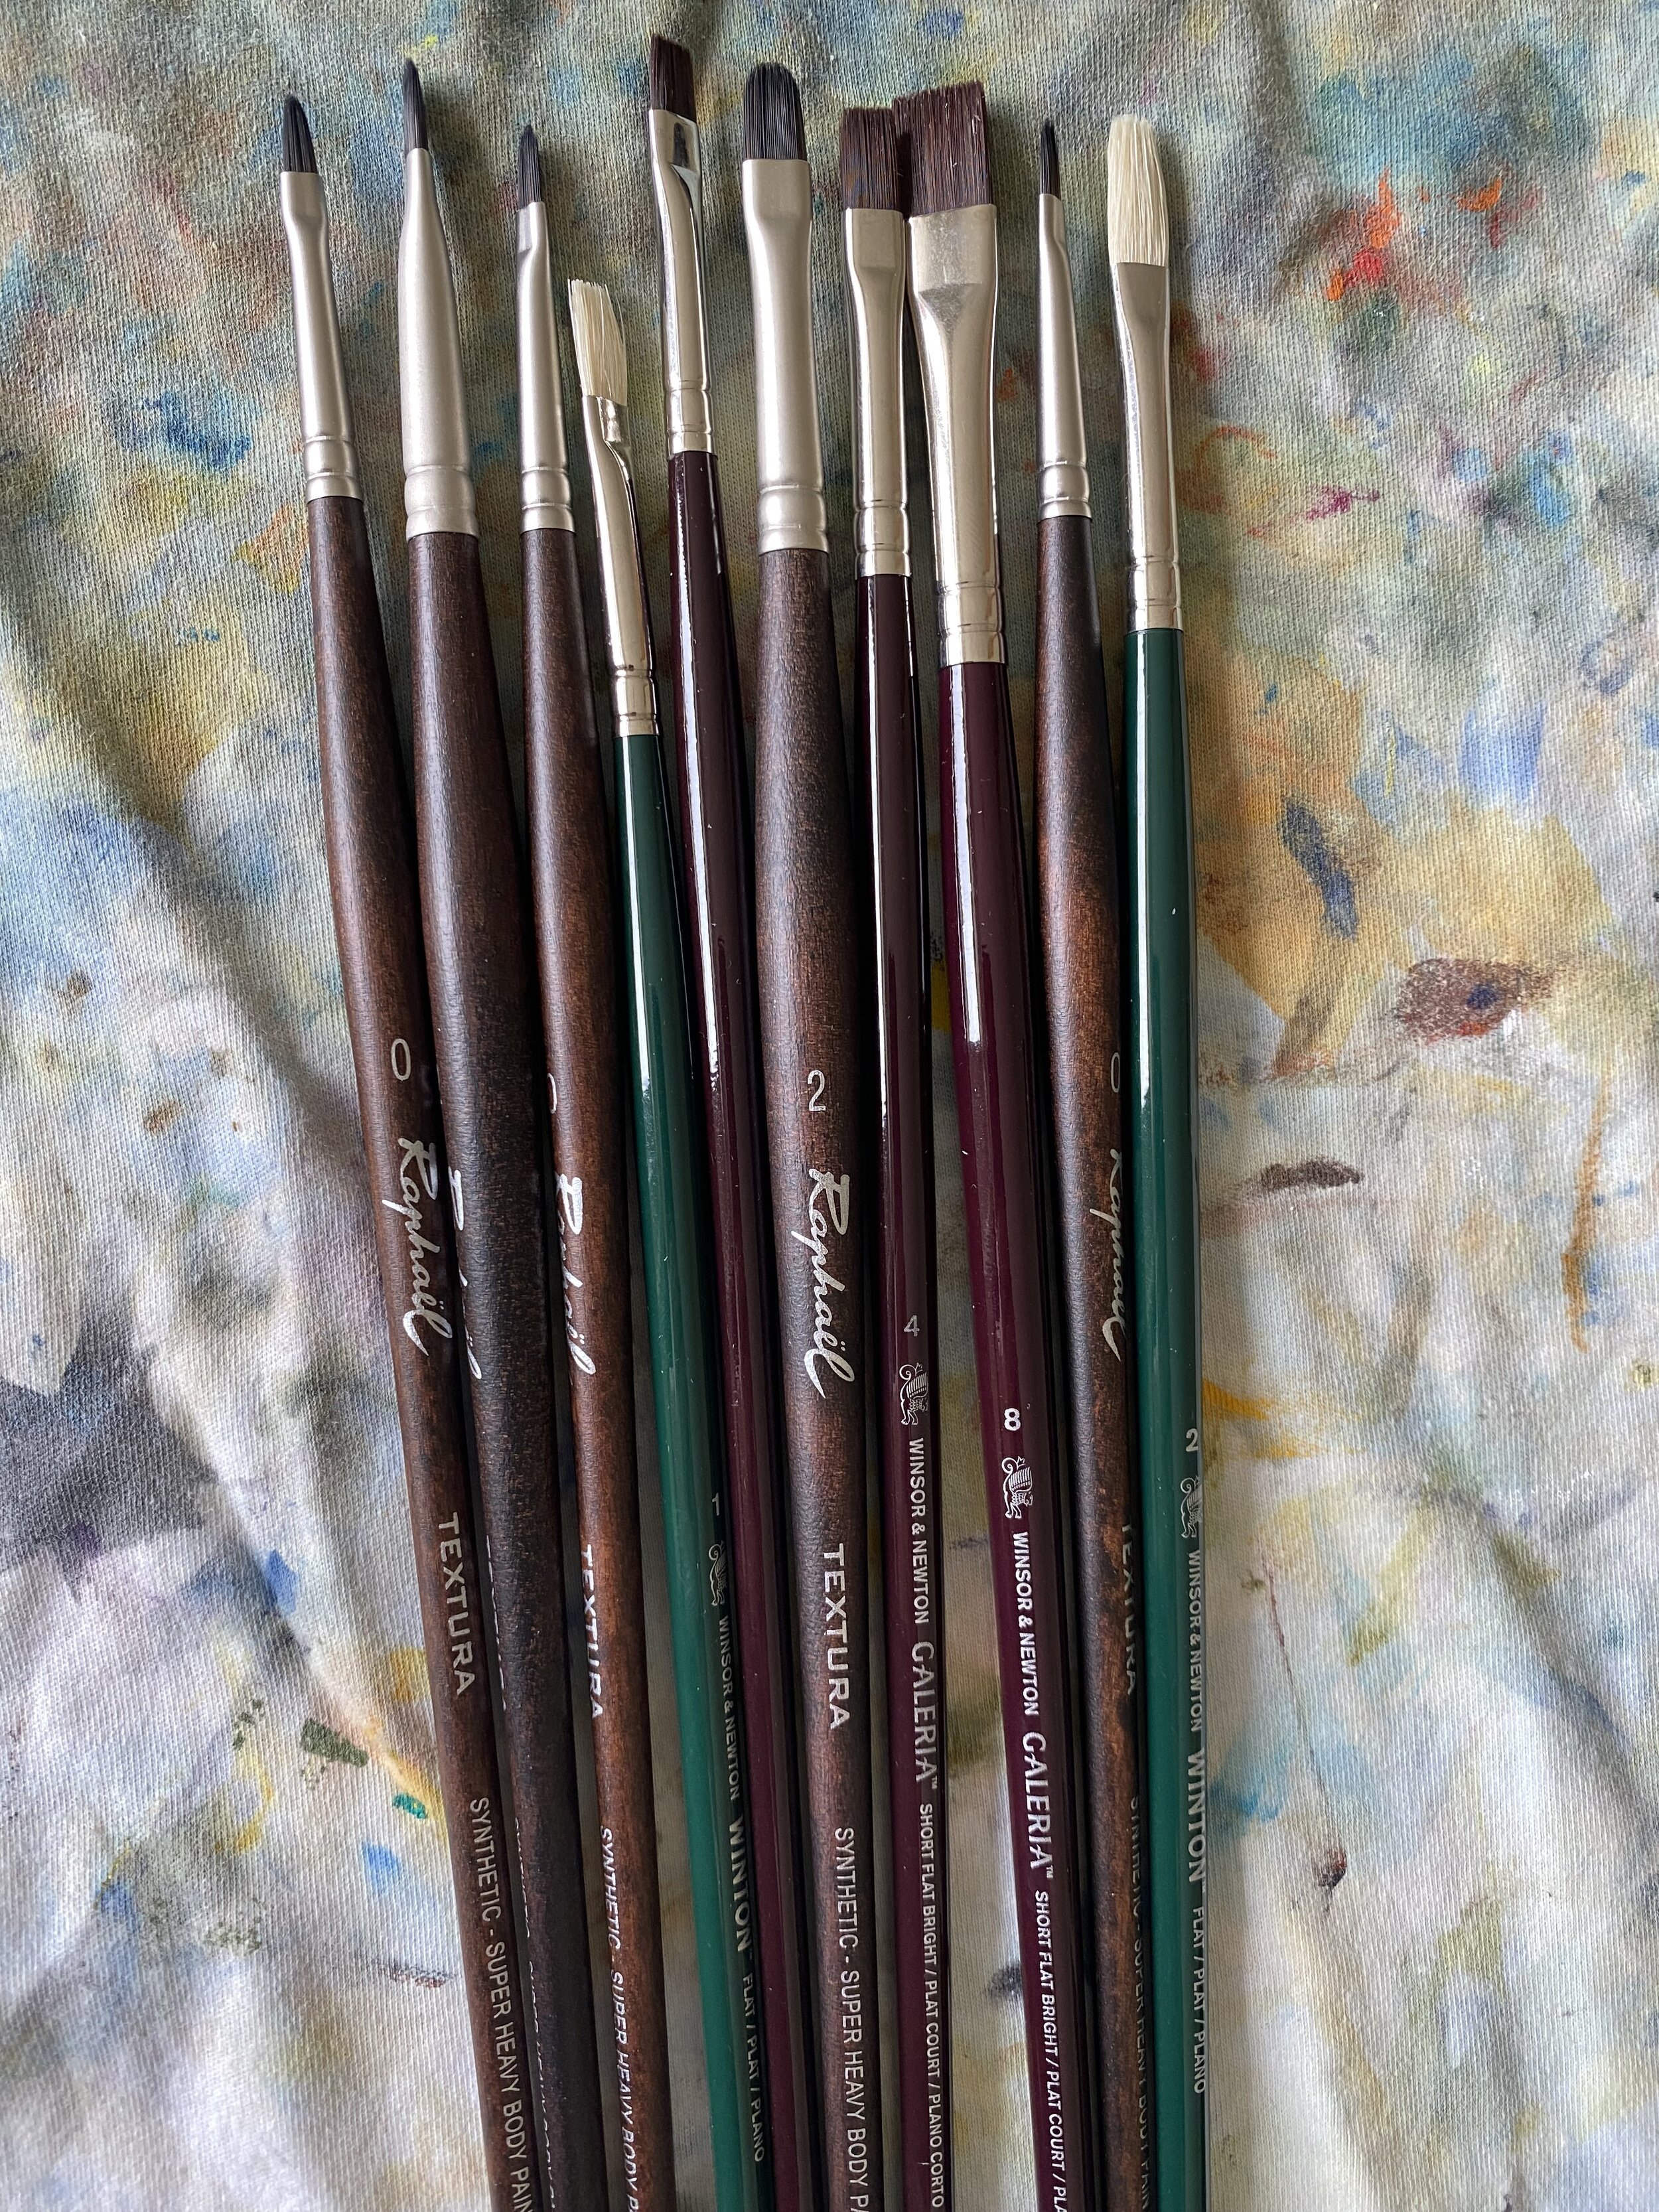
Brushes:
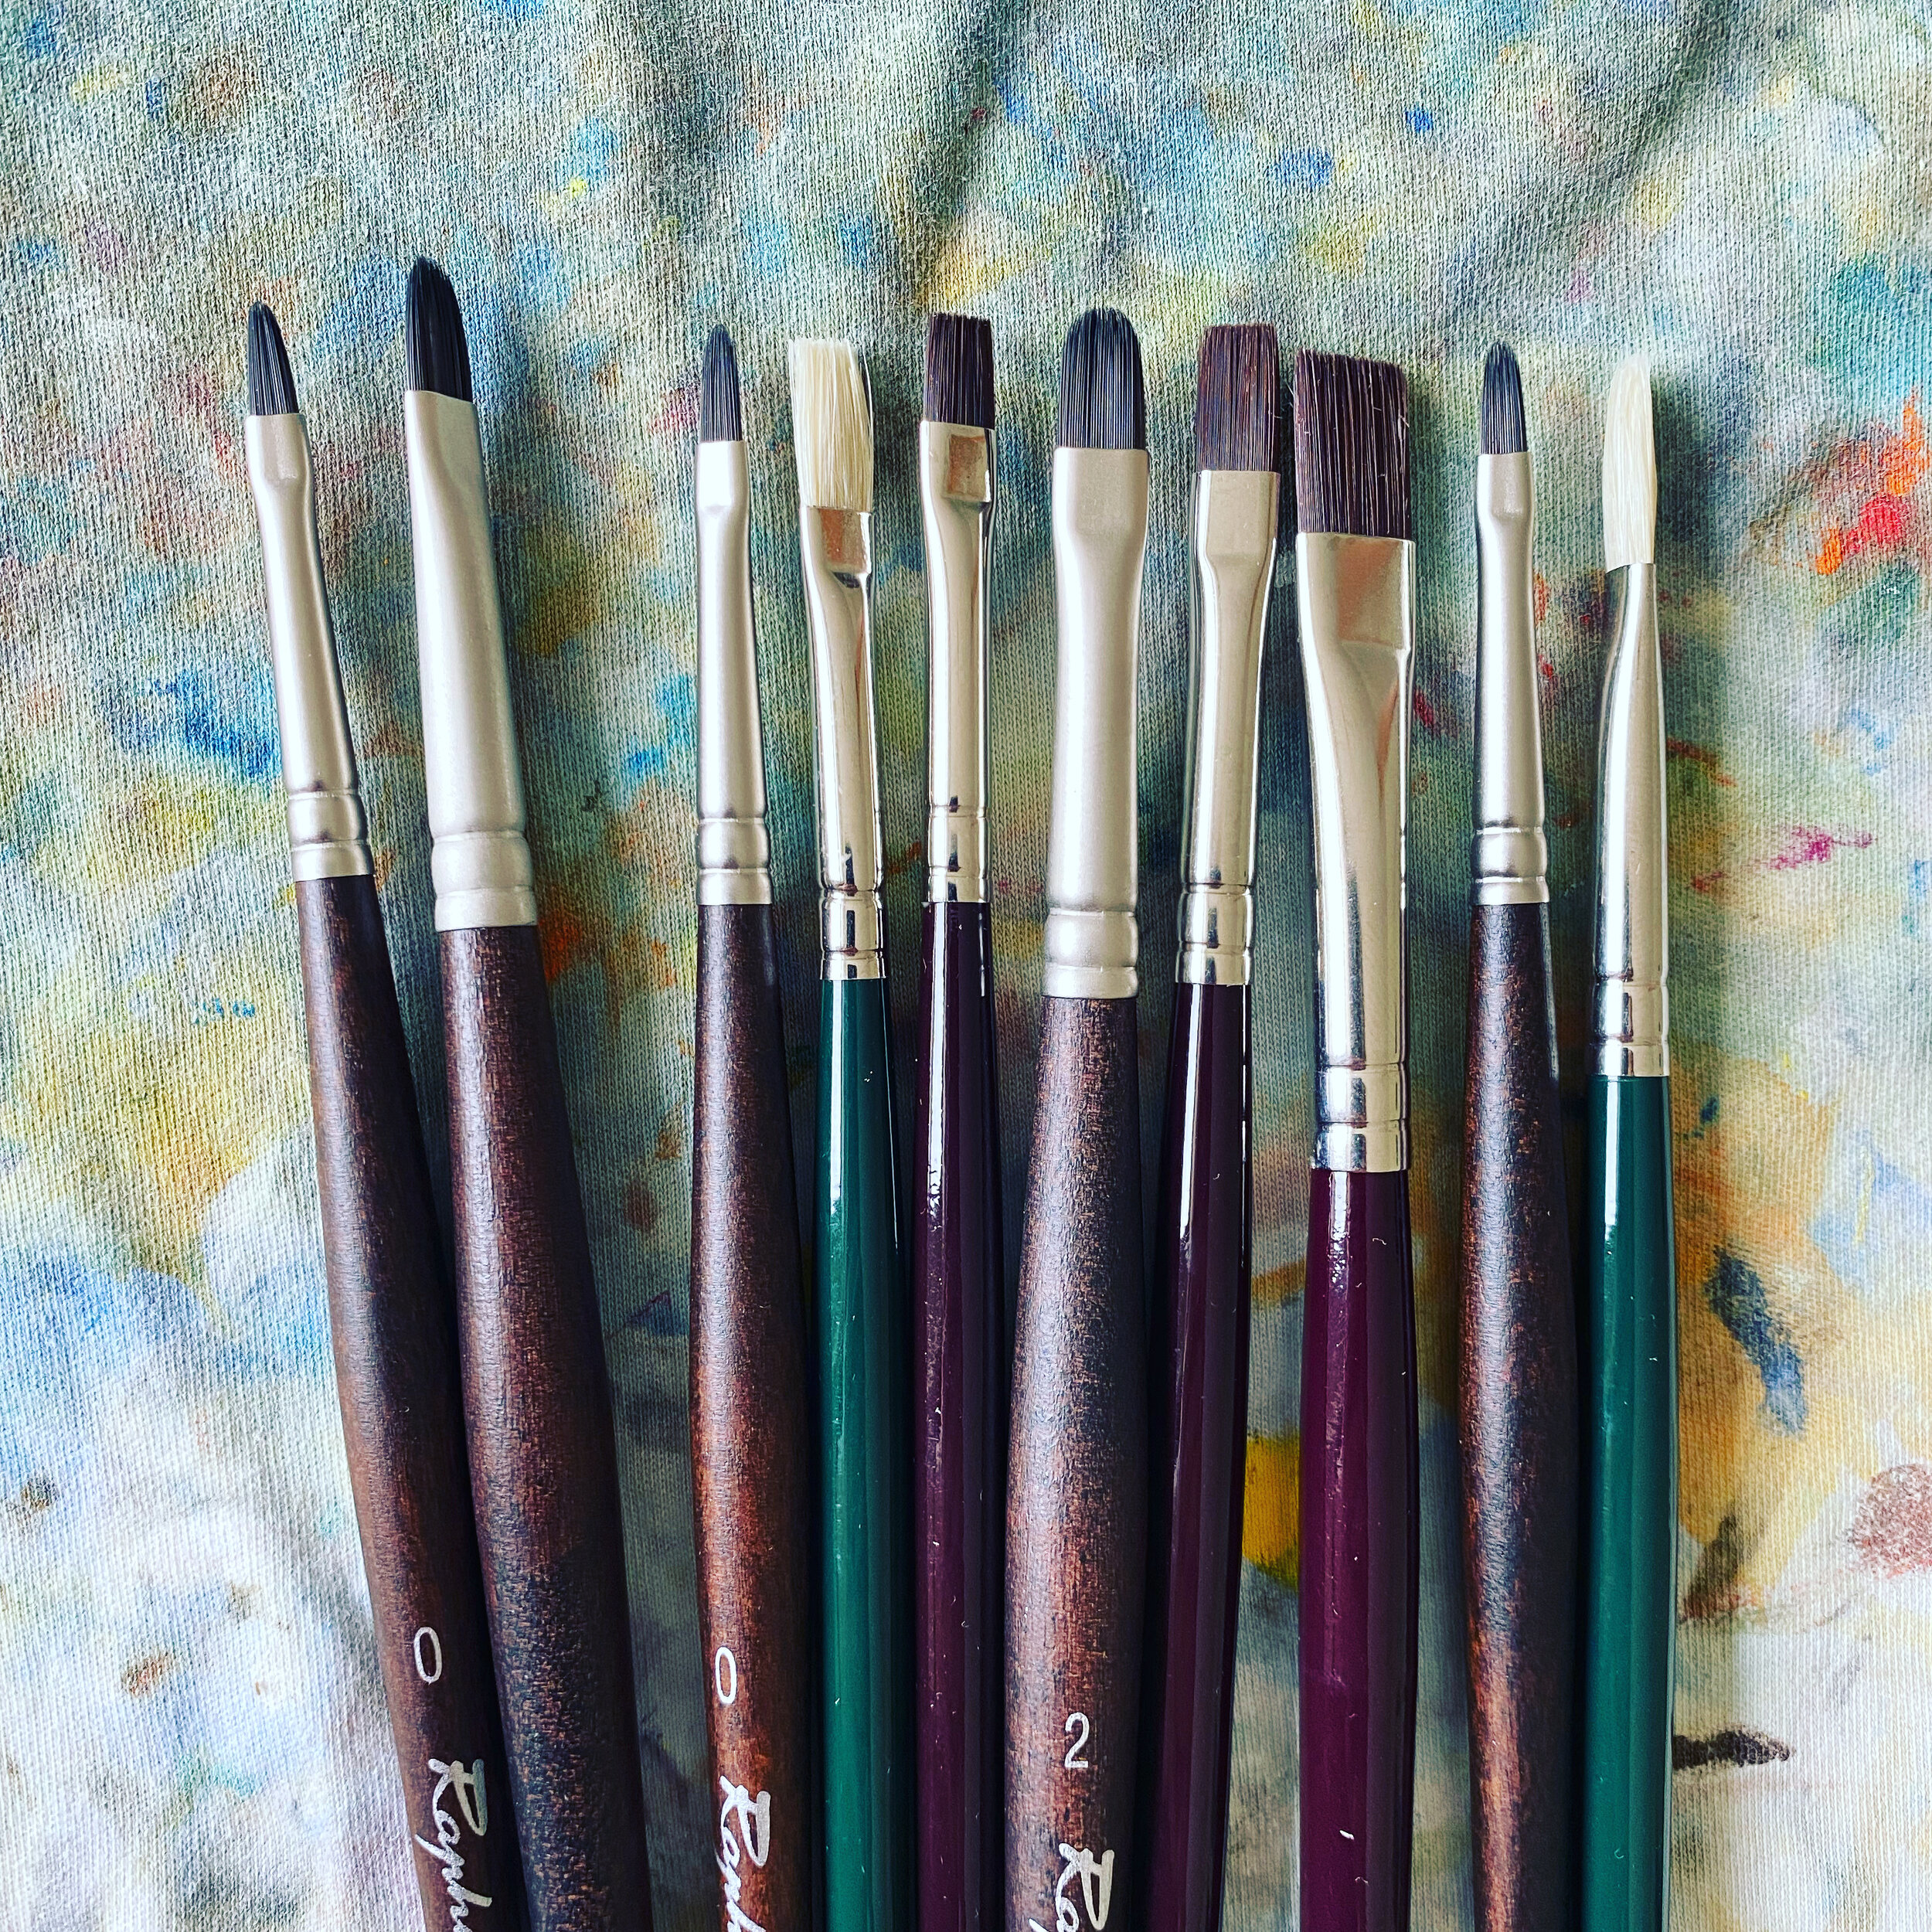
When it comes to what paint brushes to use, I could write a blog all on its own. It's taken years to discover which ones work best for me. It's personal preference really and I change my mind several times throughout a painting. I use a mix of natural and synthetic brushes. Each painting needs a slightly different approach.
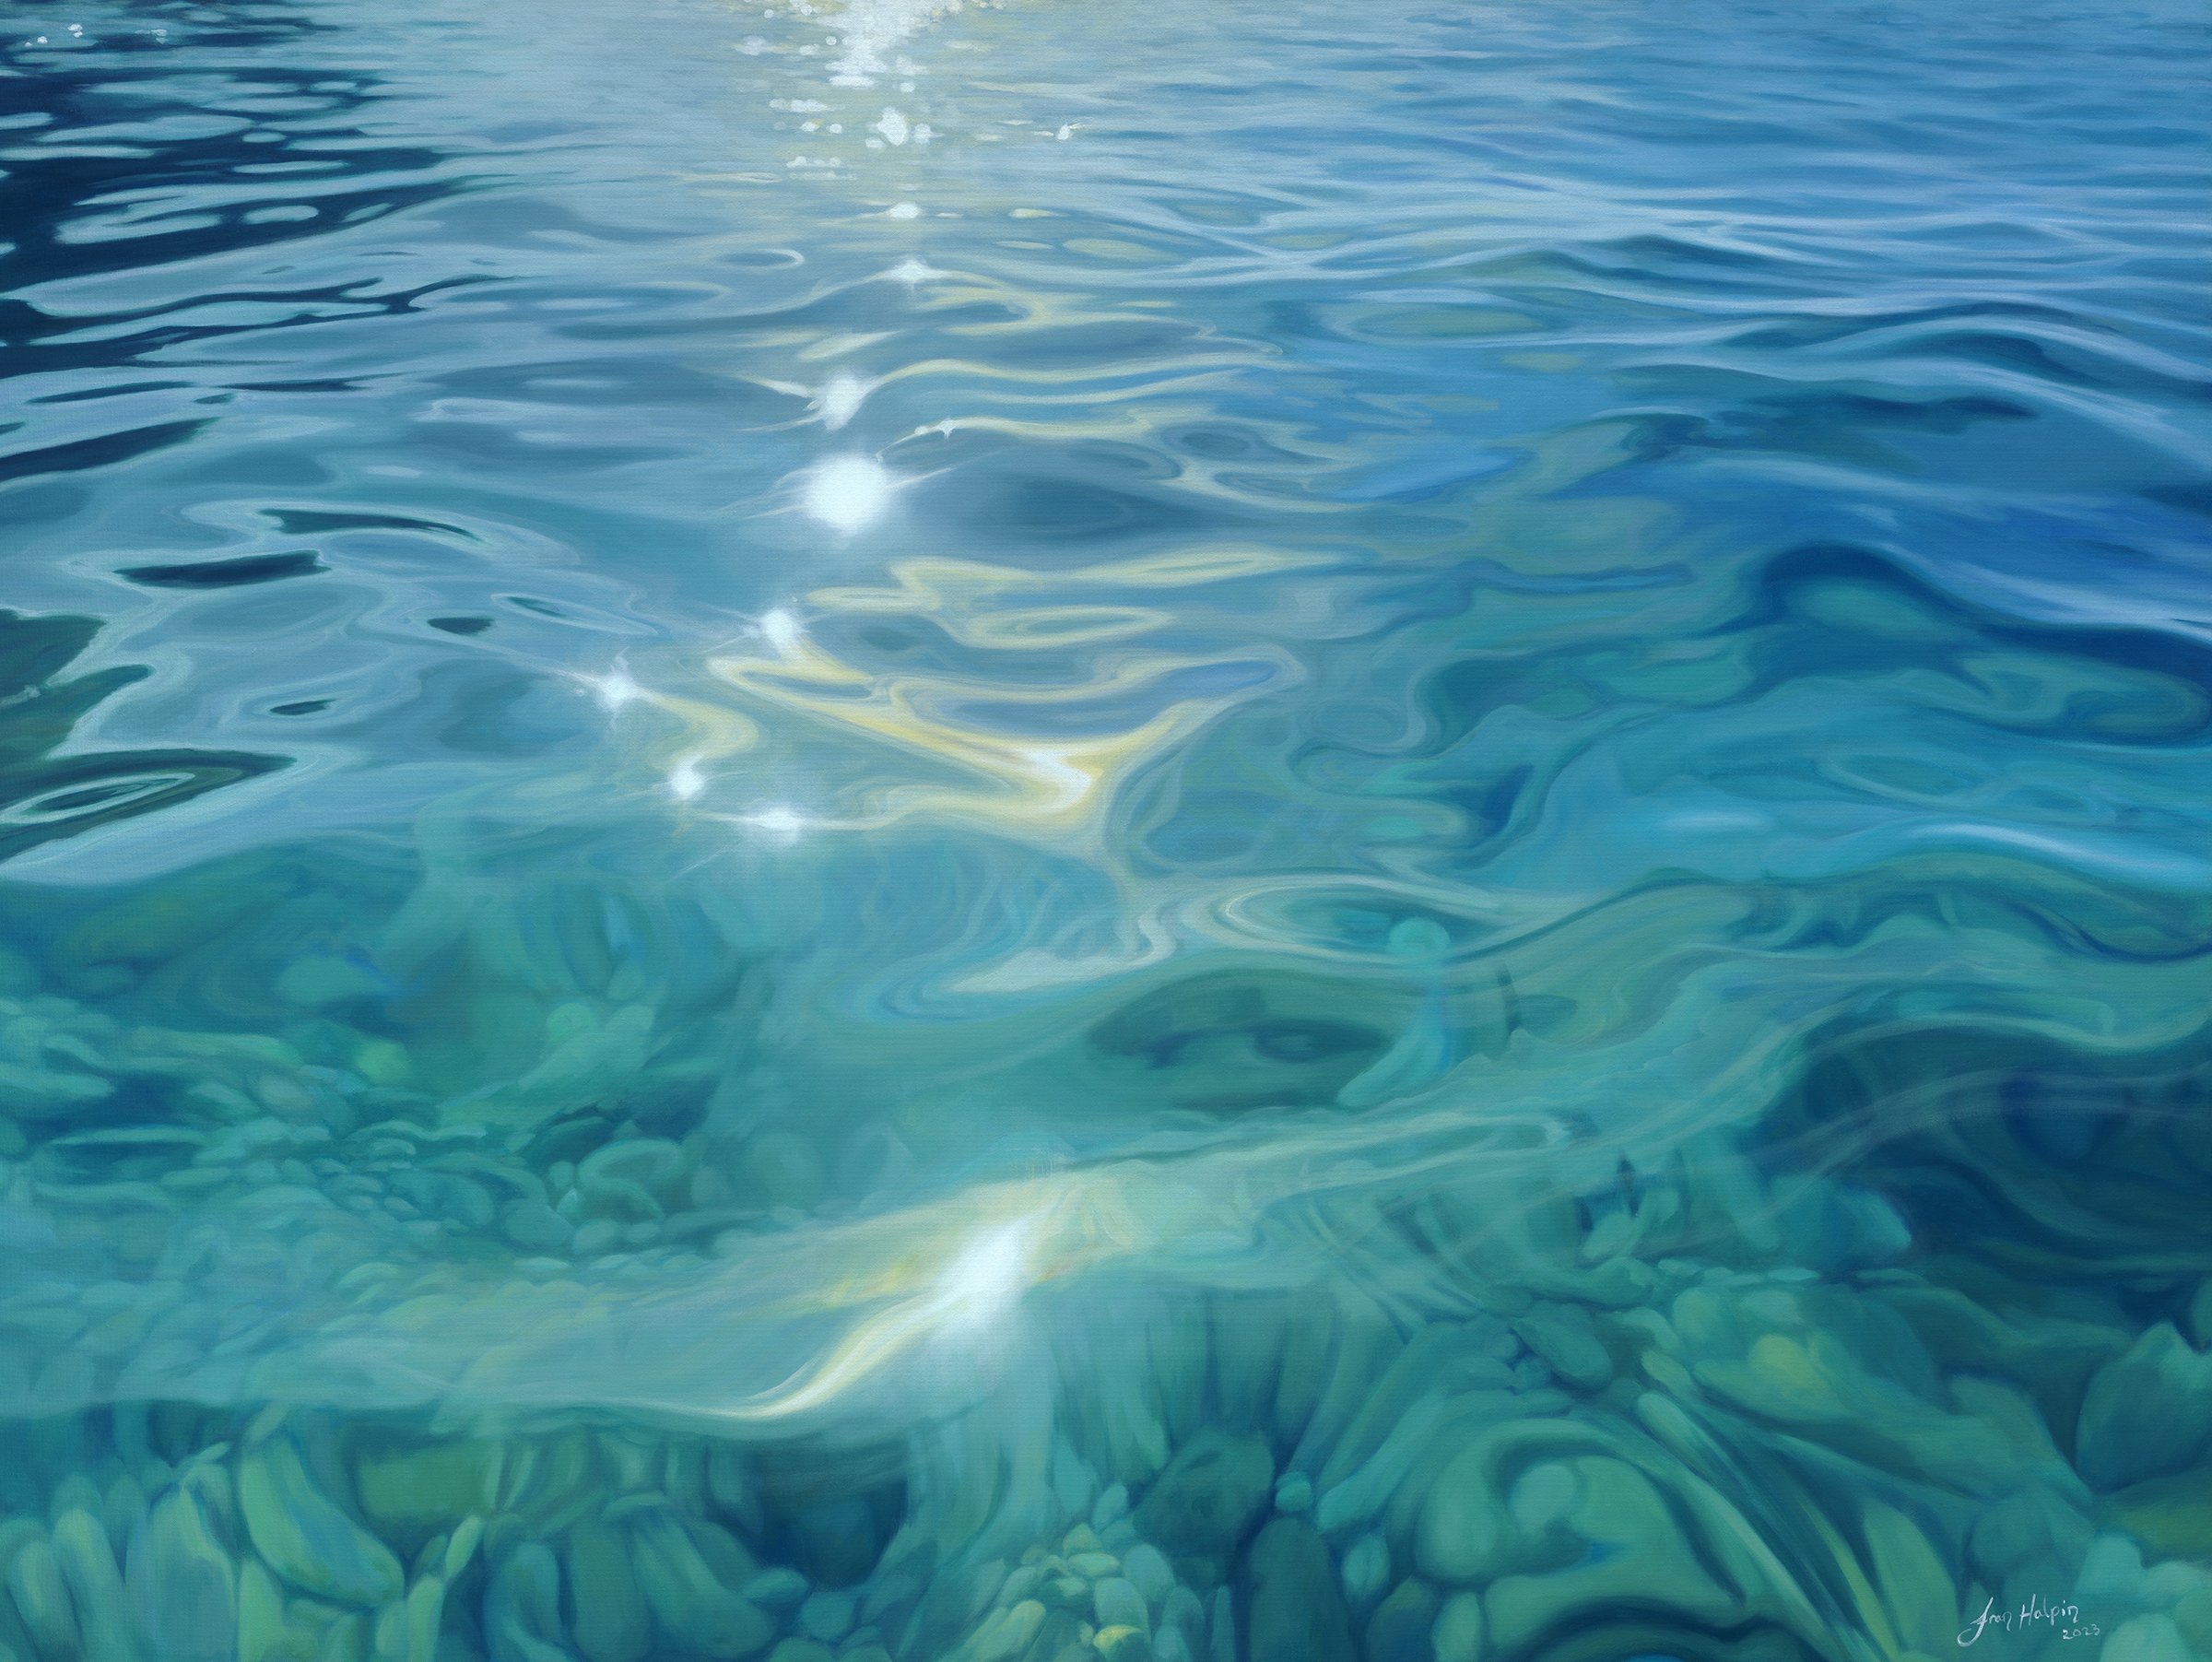
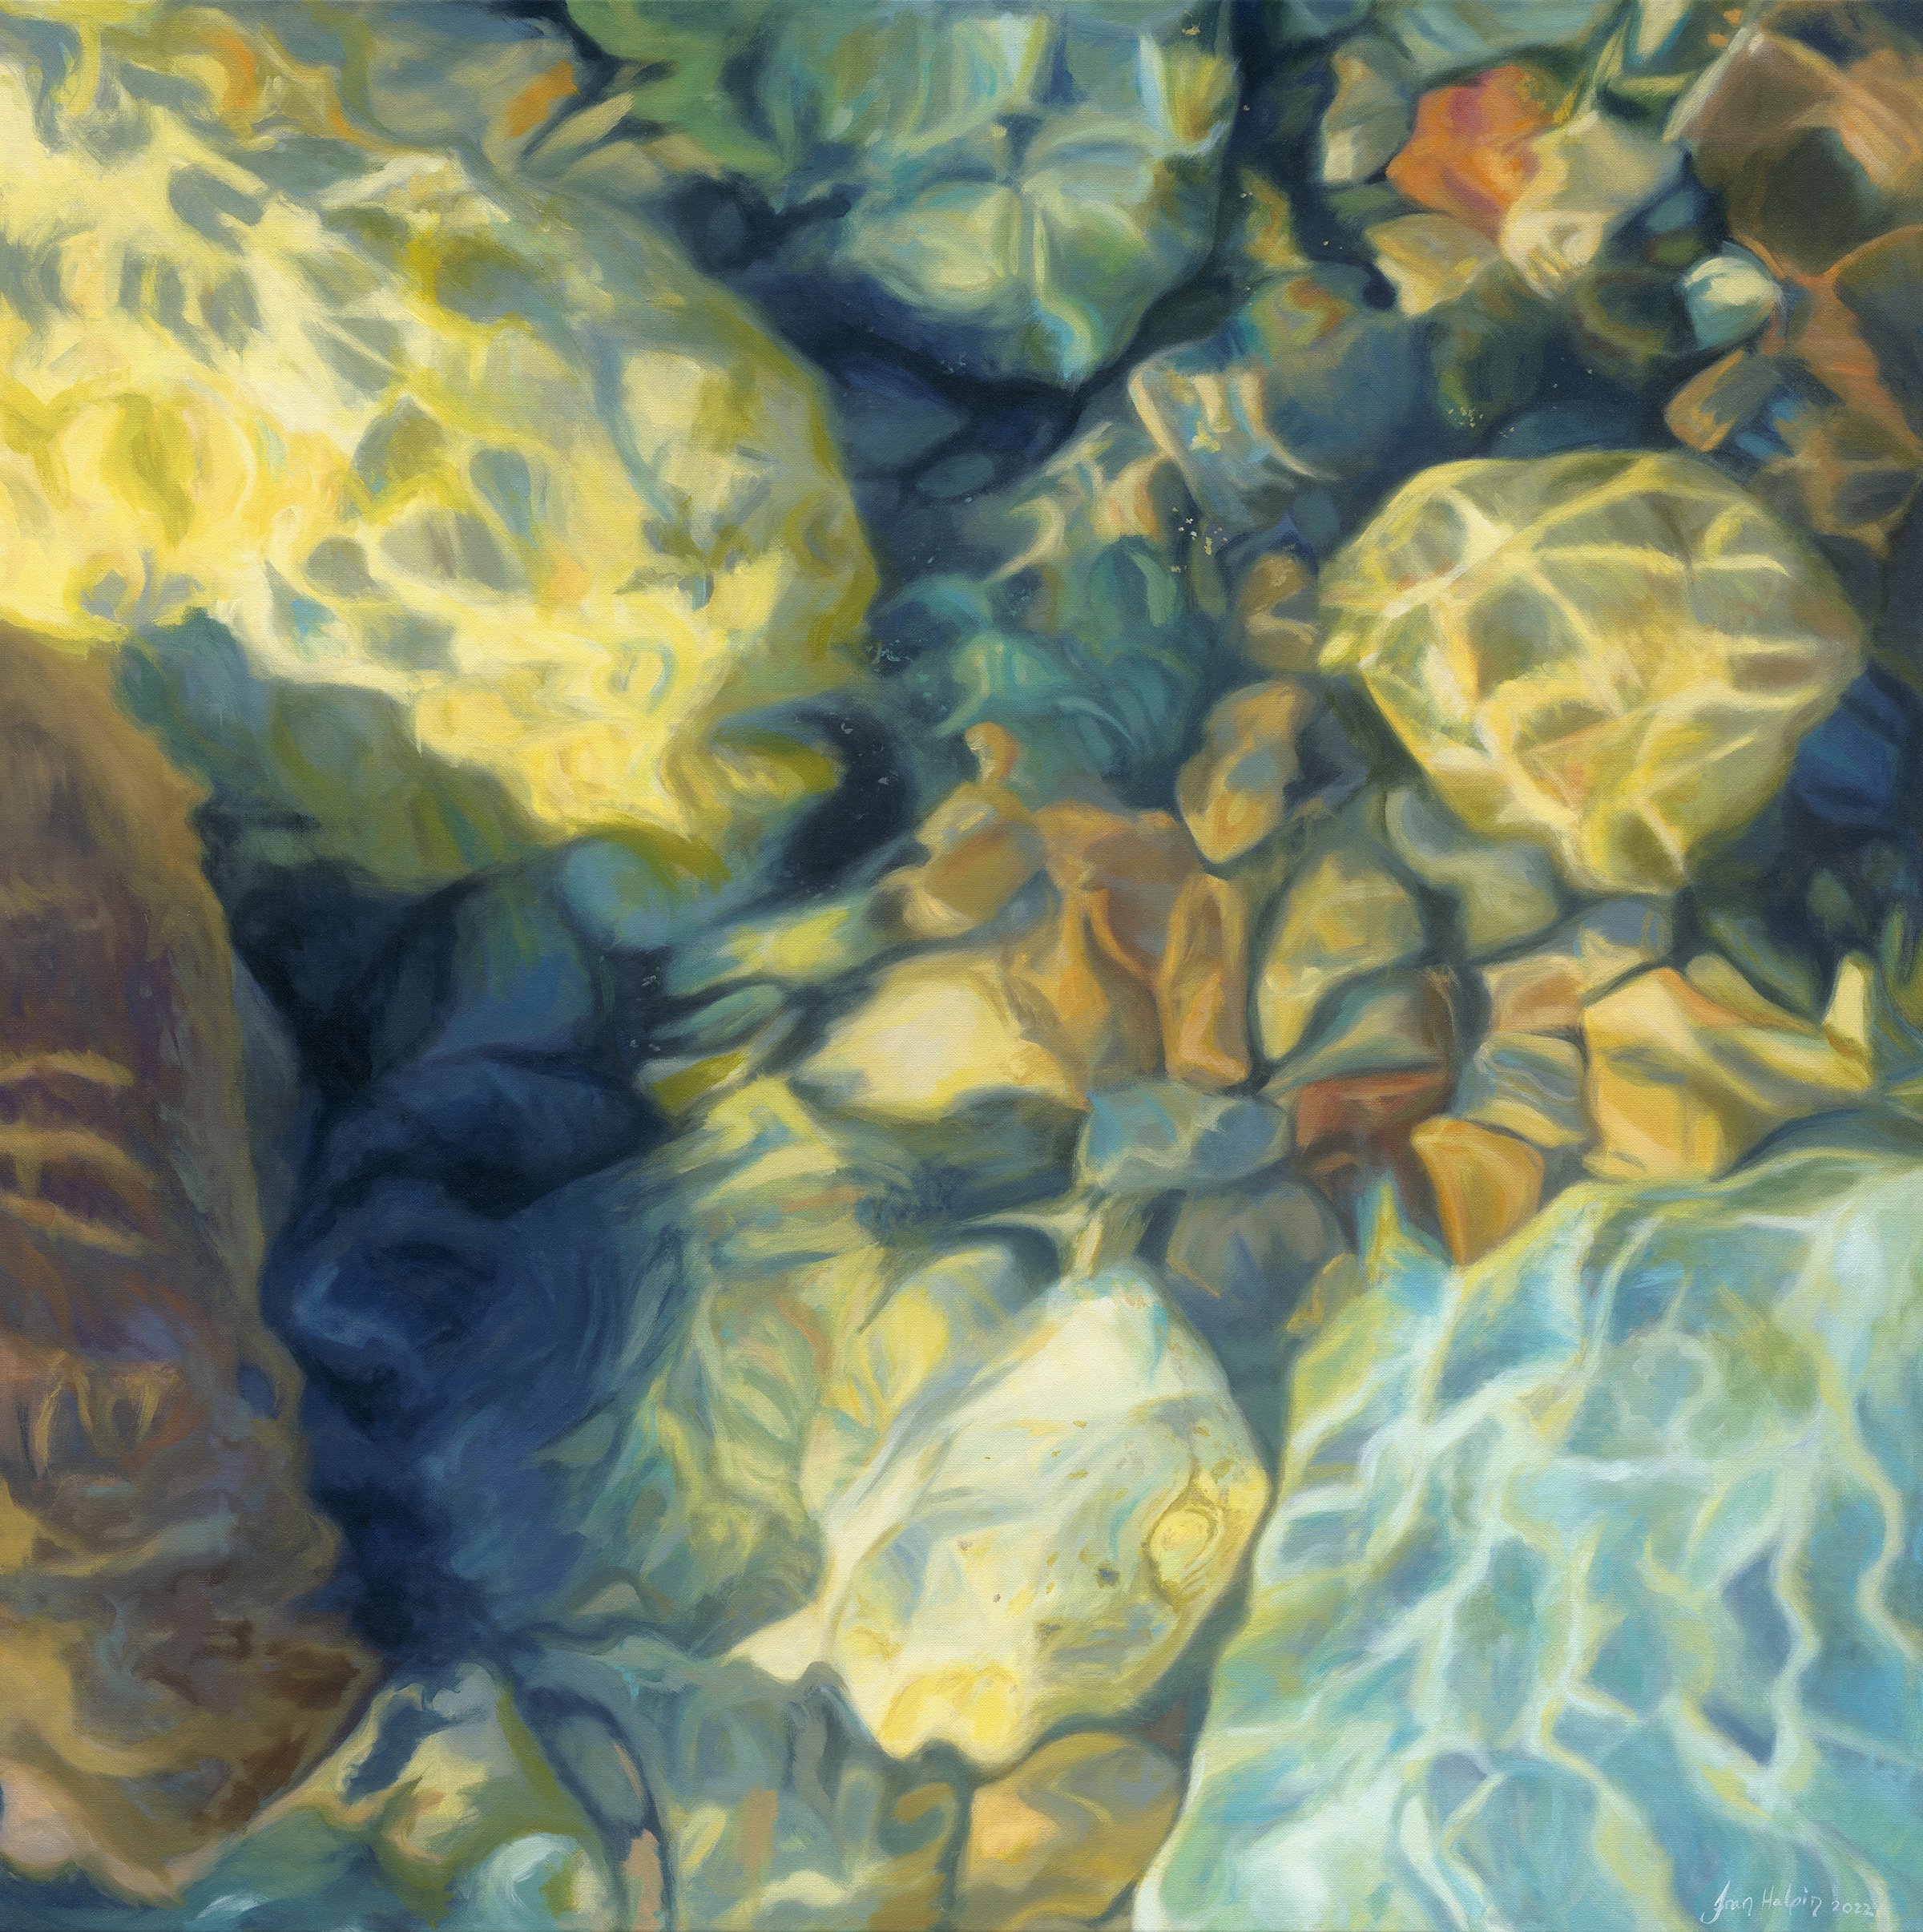
If I’m painting smooth water I gravitate towards synthetic brands such as W&N Galeria. If I’m painting texture, such as the surface of a pebble, I use W&N Winton which are a hog hair brush and works great for mark making and blending edges.
I also recently started using a brand called Raphael Textura which is great for detailed texture. The bristles are a bit harder than the others but I like the control it gives. I know it's probably impossible to visualise these unless you see them in action but hopefully it gives a good starting point.
I could go on and on about tiny details that I have found but for now I hope this gave a good overview of how to set up your studio. I’m still painting in my kitchen at the moment. I’m planning on moving up into the attic in the next few weeks. Once I have everything set up fully I will share the journey. Storage is definitely next on the list.